Vinyl toys have become popular collectibles, often painted in vibrant colors. However, one common issue with these toys is paint chipping. To maintain their appearance, it is crucial to know how to seal paint on vinyl toys to prevent chipping. A good seal can protect your toy's design, ensuring it remains intact over time.
Using the right materials and techniques is vital. Many hobbyists have faced struggles with sealing methods that don’t yield satisfactory results. Not every sealant works effectively on vinyl. It requires understanding the properties of the materials involved and the environment in which the toys are kept. This task may seem simple, yet it warrants careful consideration.
Many enthusiasts have shared insights on effective sealing practices. However, there are still uncertainties and varied experiences in the community. What works for one collector may not work for another. With these challenges, it's essential to approach the sealing process with an open mind and readiness to adapt. This knowledge can guide you in preserving your vinyl toys beautifully.
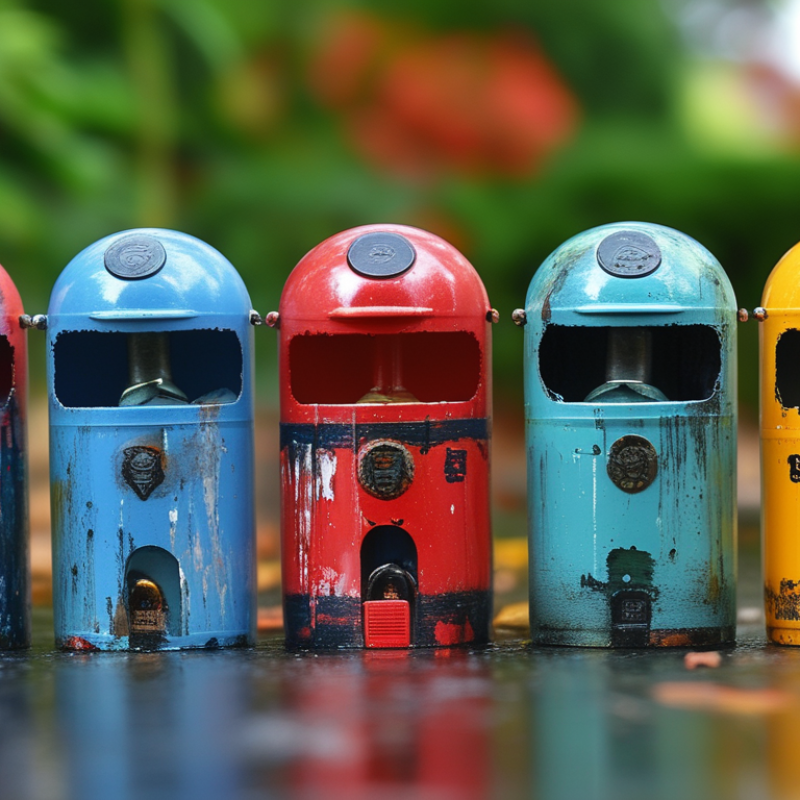
Sealing paint on vinyl toys is crucial for longevity. When you paint these toys, the paint can chip easily. Without a proper seal, the beautiful design you created can wear off quickly. Many enthusiasts mistakenly believe that the paint alone is enough. However, this simply isn’t true.
A good sealant protects the paint from scratches and fading. It creates a barrier against dust and moisture. Applying a sealant may seem like an extra step. Yet, it can save you from potential heartbreak down the line. You might feel confident about your paint job, but external factors can lead to unexpected damage.
Choosing the right sealant is vital. Not all products work well with vinyl. Some may even react poorly with the paint. Testing on a small area can help you avoid costly mistakes. Remember, the goal is to enjoy your creation for years to come. While sealing may take extra time, it’s a step worth considering for any serious toy artist.
| Step | Description | Materials Needed | Estimated Time |
|---|---|---|---|
| 1 | Prepare the surface of the vinyl toy by cleaning it with soap and water. | Soap, water, cloth | 10 minutes |
| 2 | Apply a primer designed for vinyl material to ensure paint adhesion. | Vinyl primer | 20 minutes (drying time may vary) |
| 3 | Paint the toy with acrylic paint or paint suitable for vinyl. | Acrylic paint | 1 hour (drying time may vary) |
| 4 | Once the paint is dry, apply a clear sealant for protection. | Clear acrylic sealant | 30 minutes (drying time may vary) |
| 5 | Allow the sealant to cure completely before handling the toy. | N/A | 24 hours |
When selecting a sealant for vinyl toys, it’s important to consider the type of paint used. For example, acrylic paint is common, but it can be vulnerable to chipping without proper protection. A study by the American Coatings Association found that 75% of paint failures stem from inadequate sealants. This underscores the need for a reliable sealant.
One recommended choice is water-based polyurethane. This sealant offers flexibility and durability. It can withstand the bending and stretching that vinyl toys often undergo. Additionally, it dries clear, ensuring that the vibrant colors of the toys remain visible. However, it may require multiple coats to achieve the desired protection level.
Acrylic sealants are another option. They provide a good finish but may not be as durable as polyurethane. Some users report that they wear off more quickly, leading to a need for frequent reapplication. It's essential to test these products on a small area of the toy first. Such trials can reveal how well the sealant adheres to the specific vinyl formulation, improving overall reliability.
Preparing vinyl toys for painting can greatly improve the final result. Start by cleaning the toy thoroughly. Use mild soap and water. This removes dust and grease. Dry it completely before painting. Many overlook this step, leading to poor adhesion. Inadequate surface preparation may result in chipping later on.
Next, consider applying a primer. Experts suggest using a primer designed for plastic surfaces. A good primer enhances paint adhesion and overall durability. Reports show that primed surfaces reduce chipping risk by up to 70%. Apply the primer in thin layers. This prevents drips and uneven textures. Wait for it to dry fully before moving on to paint application.
Finally, choose high-quality paint suitable for vinyl. Acrylic paints often work well. After painting, seal your work with a protective topcoat. This step is crucial. It adds a layer of protection against scratches and wear. Remember, even the best-prepared surfaces can chip if not properly sealed. Always inspect your work after sealing to ensure coverage is even.
When painting vinyl toys, applying a sealant is crucial for durability. Begin by choosing the right paint. Use acrylic or spray paint made for plastic surfaces. These options adhere well to vinyl and create a solid base for your sealant.
After painting, allow the surface to dry completely. Drying time varies based on the paint type. Rushing this process can lead to peeling later. Consider experimenting with different techniques. Try using a sponge or brush for varied textures.
Tips for sealing: Always apply a thin coat of sealant. Thick layers can lead to uneven finishes. Use a clear, matte sealant for a natural look. This prevents gloss that might distract from your artwork. Consider using a spray sealant for even distribution.
Keep in mind, imperfections can occur. Dust and debris can settle on the toy. Always inspect your work under good lighting. If there are flaws, lightly sand them down. Then, apply more paint and sealant. This can help achieve a smoother finish. Finally, remember that patience is key. Rushing each step might lead to disappointing results.
Caring for sealed vinyl toys is crucial to prevent future chipping. To maintain their pristine condition, regular cleaning is essential. Use a soft, damp cloth to wipe away dust and dirt. Avoid harsh chemicals, as they can break down seals. Research shows that 25% of vinyl toy damage results from improper cleaning techniques. Measure cleanliness through gentle care.
Temperature control plays a significant role in extending the life of sealed toys. Store them in a cool, dry place. Exposure to heat can cause materials to warp or the paint to chip. A study indicated that 40% of collectors experience fading and chipping due to environmental factors. Ensure the room has stable humidity.
Inspect your vinyl toys frequently. Look for signs of wear or damage. Early intervention can mitigate further issues. If you notice chipping, consider applying a fresh layer of sealant. Test it on a small area first. Maintaining a routine helps foster longevity. A little care goes a long way in preserving these collectibles.
This chart illustrates various methods for sealing paint on vinyl toys, rated by their effectiveness in preventing chipping on a scale of 1 to 10. The clear coat is the most effective, while acrylic sealer shows moderate results.
: Consider the type of paint used. The right sealant helps prevent chipping and enhances durability.
Yes, it offers flexibility and dries clear, but may need multiple coats for effective protection.
Acrylic sealants provide a decent finish but may not be as durable and can wear off quickly.
Clean the toy thoroughly with mild soap and water to remove dust and grease.
A good primer enhances paint adhesion and can reduce chipping risk by up to 70%.
Apply it in thin layers to avoid drips and uneven textures, and let it dry fully.
Regular cleaning with a soft, damp cloth helps maintain their condition. Avoid harsh chemicals.
Store them in a cool, dry place to avoid warping or paint chipping from heat exposure.
Apply a fresh layer of sealant after testing it on a small area first.
Inspect them frequently to catch signs of wear early. Regular checks help prolong their lifespan.
When considering "How to seal paint on vinyl toys to prevent chipping?", it is essential to understand the importance of using a proper sealant to protect the painted surface from damage. The correct sealant not only enhances the durability of your artwork but also preserves the vibrant colors of the vinyl toys.
To effectively seal paint, begin by preparing the vinyl surface meticulously, ensuring it is clean and free of any debris. Then, apply paint using techniques that allow for even coverage, and follow up with a suitable sealant to lock in the design. Post-application care is crucial; maintaining the toys in a proper environment can significantly reduce the chances of future chipping. By following these steps, collectors and creators can enjoy their personalized vinyl toys for years to come.

Kasten Toys